The Bulk Upload New Claims tool allows firms to submit claims in mass. The following tutorial will briefly describe the steps in downloading a Microsoft Access template in order to begin entering claim data. Click on any image to enlarge it.
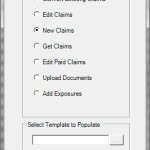
2) The “Choose Template” box will appear with a list of templates that are available for downloading. Click on the “New Claims” template to download it.
3) The “Choose Primary Trust” box will appear with a drop-down of Trust that the user has access too. Select the Trust for the new claims submissions.
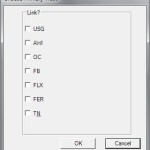
4) After selecting the Primary Trust, a “Link?” box will appear displaying all of the Trust the user has access too. At this point, the user may check one or more Trust, which will create new claims for these Trusts and linked them to the Primary Trust.
5) After selecting the Trust and clicking the OK button. A “Save BulkUpload Template” box will appear prompting the user to save the new template. At this point the user may rename the file or leave the default name and select the directory where the new template will be stored.
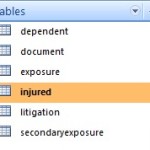
6) After downloading the new template, double click on the file to open it. Find the claim tables located in the tables view of the Access database and open the ‘injured’ table to begin entering data for the new claim submissions. The ‘injured’ party table must first be populated with data before any other tables. All other tables are linked to the injured party table through the SSN field (Injured Table’s Primary Key).
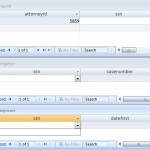
7) In the following example, when the ‘injured’ party table is missing the SSN, all of the other tables such as the litigation and exposure tables will not have any data in the SSN drop-down.
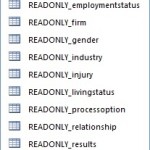
8) Besides the SSN field, there are other look-up fields in the tables that require a specific ID instead of the actual value. These values can be found in the ‘READONLY_’ tables located immediately below the claims table.
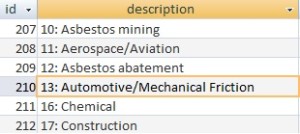
9) By double clicking on the ‘READONLY_industry’ table shown in the previous image, you will see the industry ids and description of the industry. Click on other READONLY tables to view their ids and descriptions.
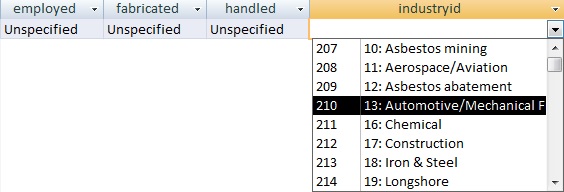
10) By double clicking on the Exposure table, you will see that the ‘industryid’ field is looking up data from the ‘READONLY_industry’ table.
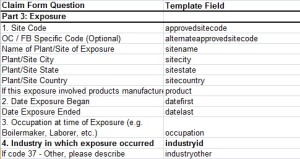
11) As part of the Bulk Upload Tool, we have also provided the user with an excel spreadsheet labeled the “Bulk Upload Data Dictionary” that displays the user friendly name of each field. You’ll notice that the ‘industryid’ located under the Template Field heading corresponds to question 4 from the claim form.
12) With the injured table opened, enter all of the necessary information. The injured table includes the following section of the claim form: Representation, Process, Injured Party, Injuries, Smoking History, Economic Loss and Comments.
13) With the exposure table opened, enter all of the necessary information. You may add multiple exposure records for each of the claimants listed in the injured table.
14) With the litigation table opened, enter all of the necessary information. You may add multiple litigation records for each of the claimants listed in the injured table.
15) With the dependent table opened, enter all of the necessary information. You may add multiple dependent records for each of the claimants listed in the injured table.
16) With the secondary exposure table opened, enter all of the necessary information. You may add multiple secondary exposure records for each of the claimants listed in the injured table.
17) With the document table opened, enter all of the necessary information. You may add multiple documents for each of the claimants listed in the injured table.
18) After entering all of the information into the necessary tables, close the template. Log back into the Bulk Upload Tool and click on the Upload Template button.
19) The “Upload BulkUpload Database” box will be open, prompting the user to select the “New Claims” template that has the claims that will be submitted. After selecting the correct template, click “Open” to begin submitting the new claims.
This box will display the total claims successfully submitted and the failed submissions. As well as any documents that was successfully or unsuccessfully uploaded
For the Failed claim submissions, open the template and the “READONLY_results” table for information on why the submission failed. For the Failed document uploads, open the “document” table and check the message field which will provide a brief description of why the documents failed to upload.
After making corrections to the failed claim submissions and documents, you may log back into the Bulk Upload Tool and re-upload the template with the corrections.
You have completed the Bulk Upload New Claims Tutorial. We hope that the lesson was informative and helpful. If you would like additional assistance, please contact the Trust at (866) 665-5790. For a printer friendly version of this tutorial click on the link below.


